Create Cache
Once you have planned your cluster capacity, you can create your Montplex Cache. This tutorial will guide you in detail on how to create Montplex Cache.
Estimated time: 10 seconds
-
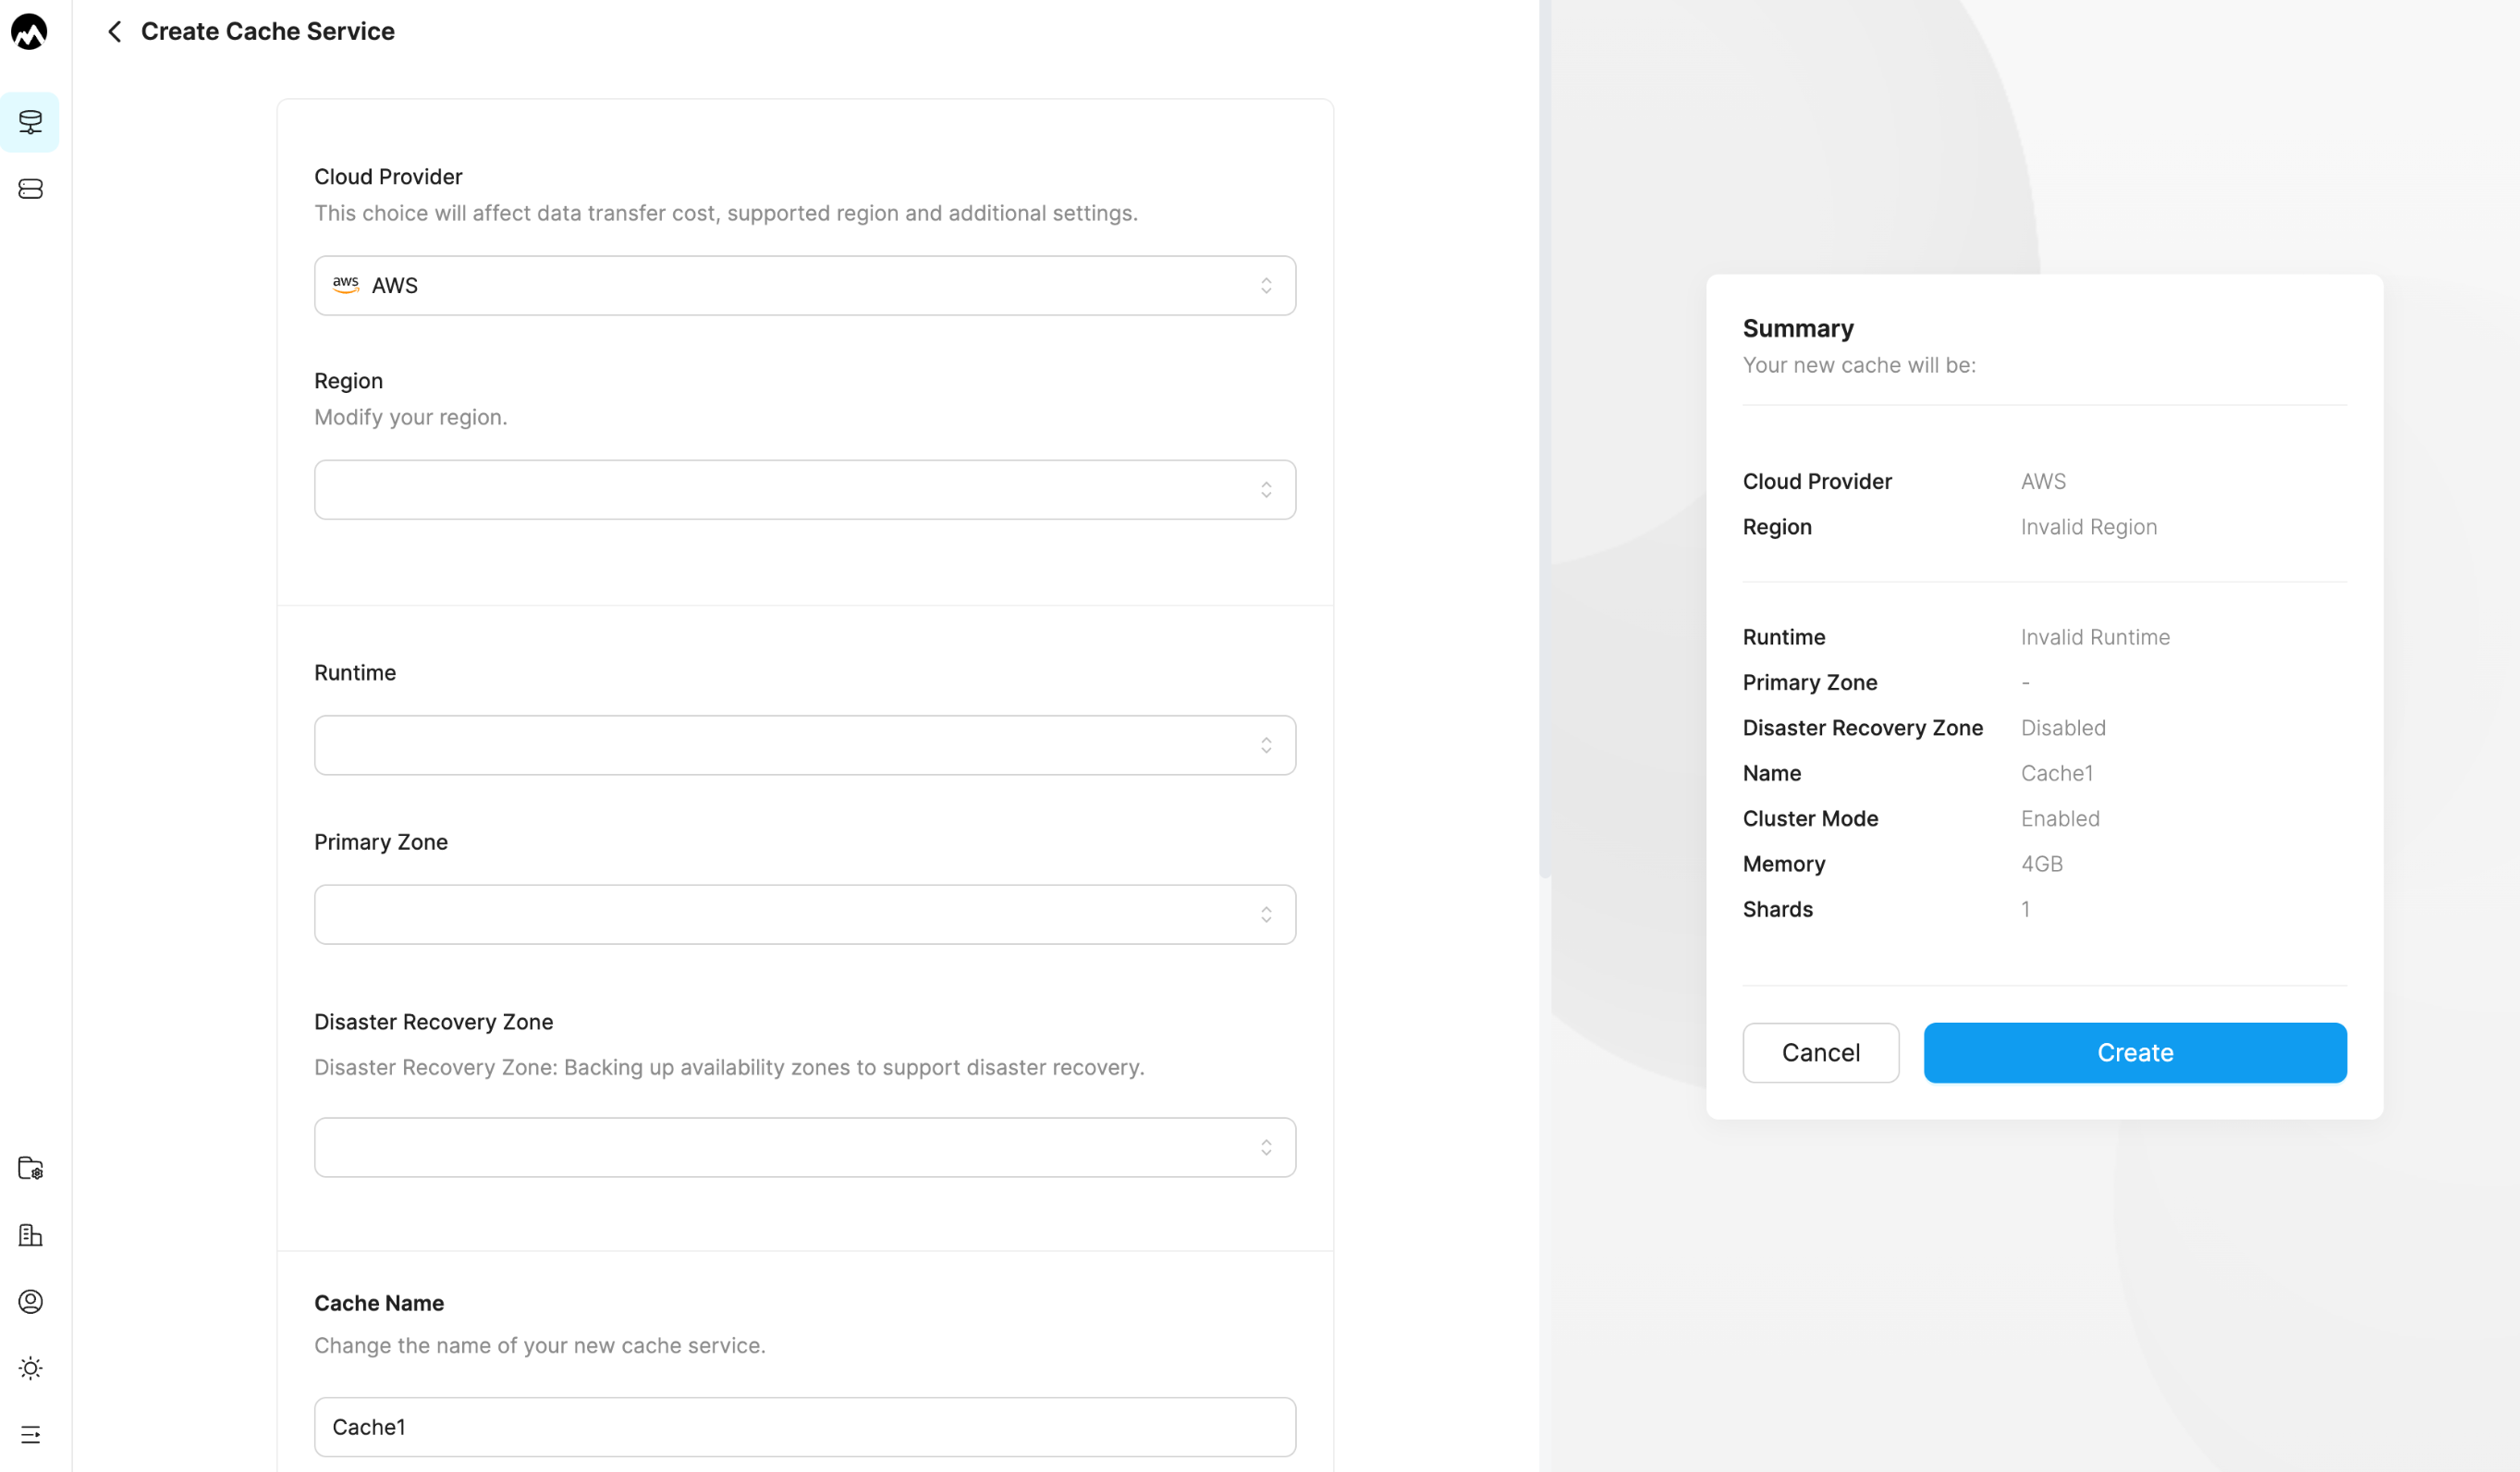
Select the target cloud provider Currently, only AWS is supported, but future support for other cloud providers like GCP and Azure will be provided.
-
Select the target Region.
-
Select the target Runtime. If the VPC where the business is located does not have the corresponding Runtime, the Runtime of that VPC needs to be initialized first.Environment Initialization.
-
Select the primary availability zone where your business operates. If the Cache and business are in different availability zones, cross-availability zone traffic charges will apply.
-
Select the disaster recovery availability zone for your business. If disaster recovery is not required, do not select this option. Cache will then only be scheduled to the primary availability zone, and if the primary availability zone fails, the business will be unavailable.

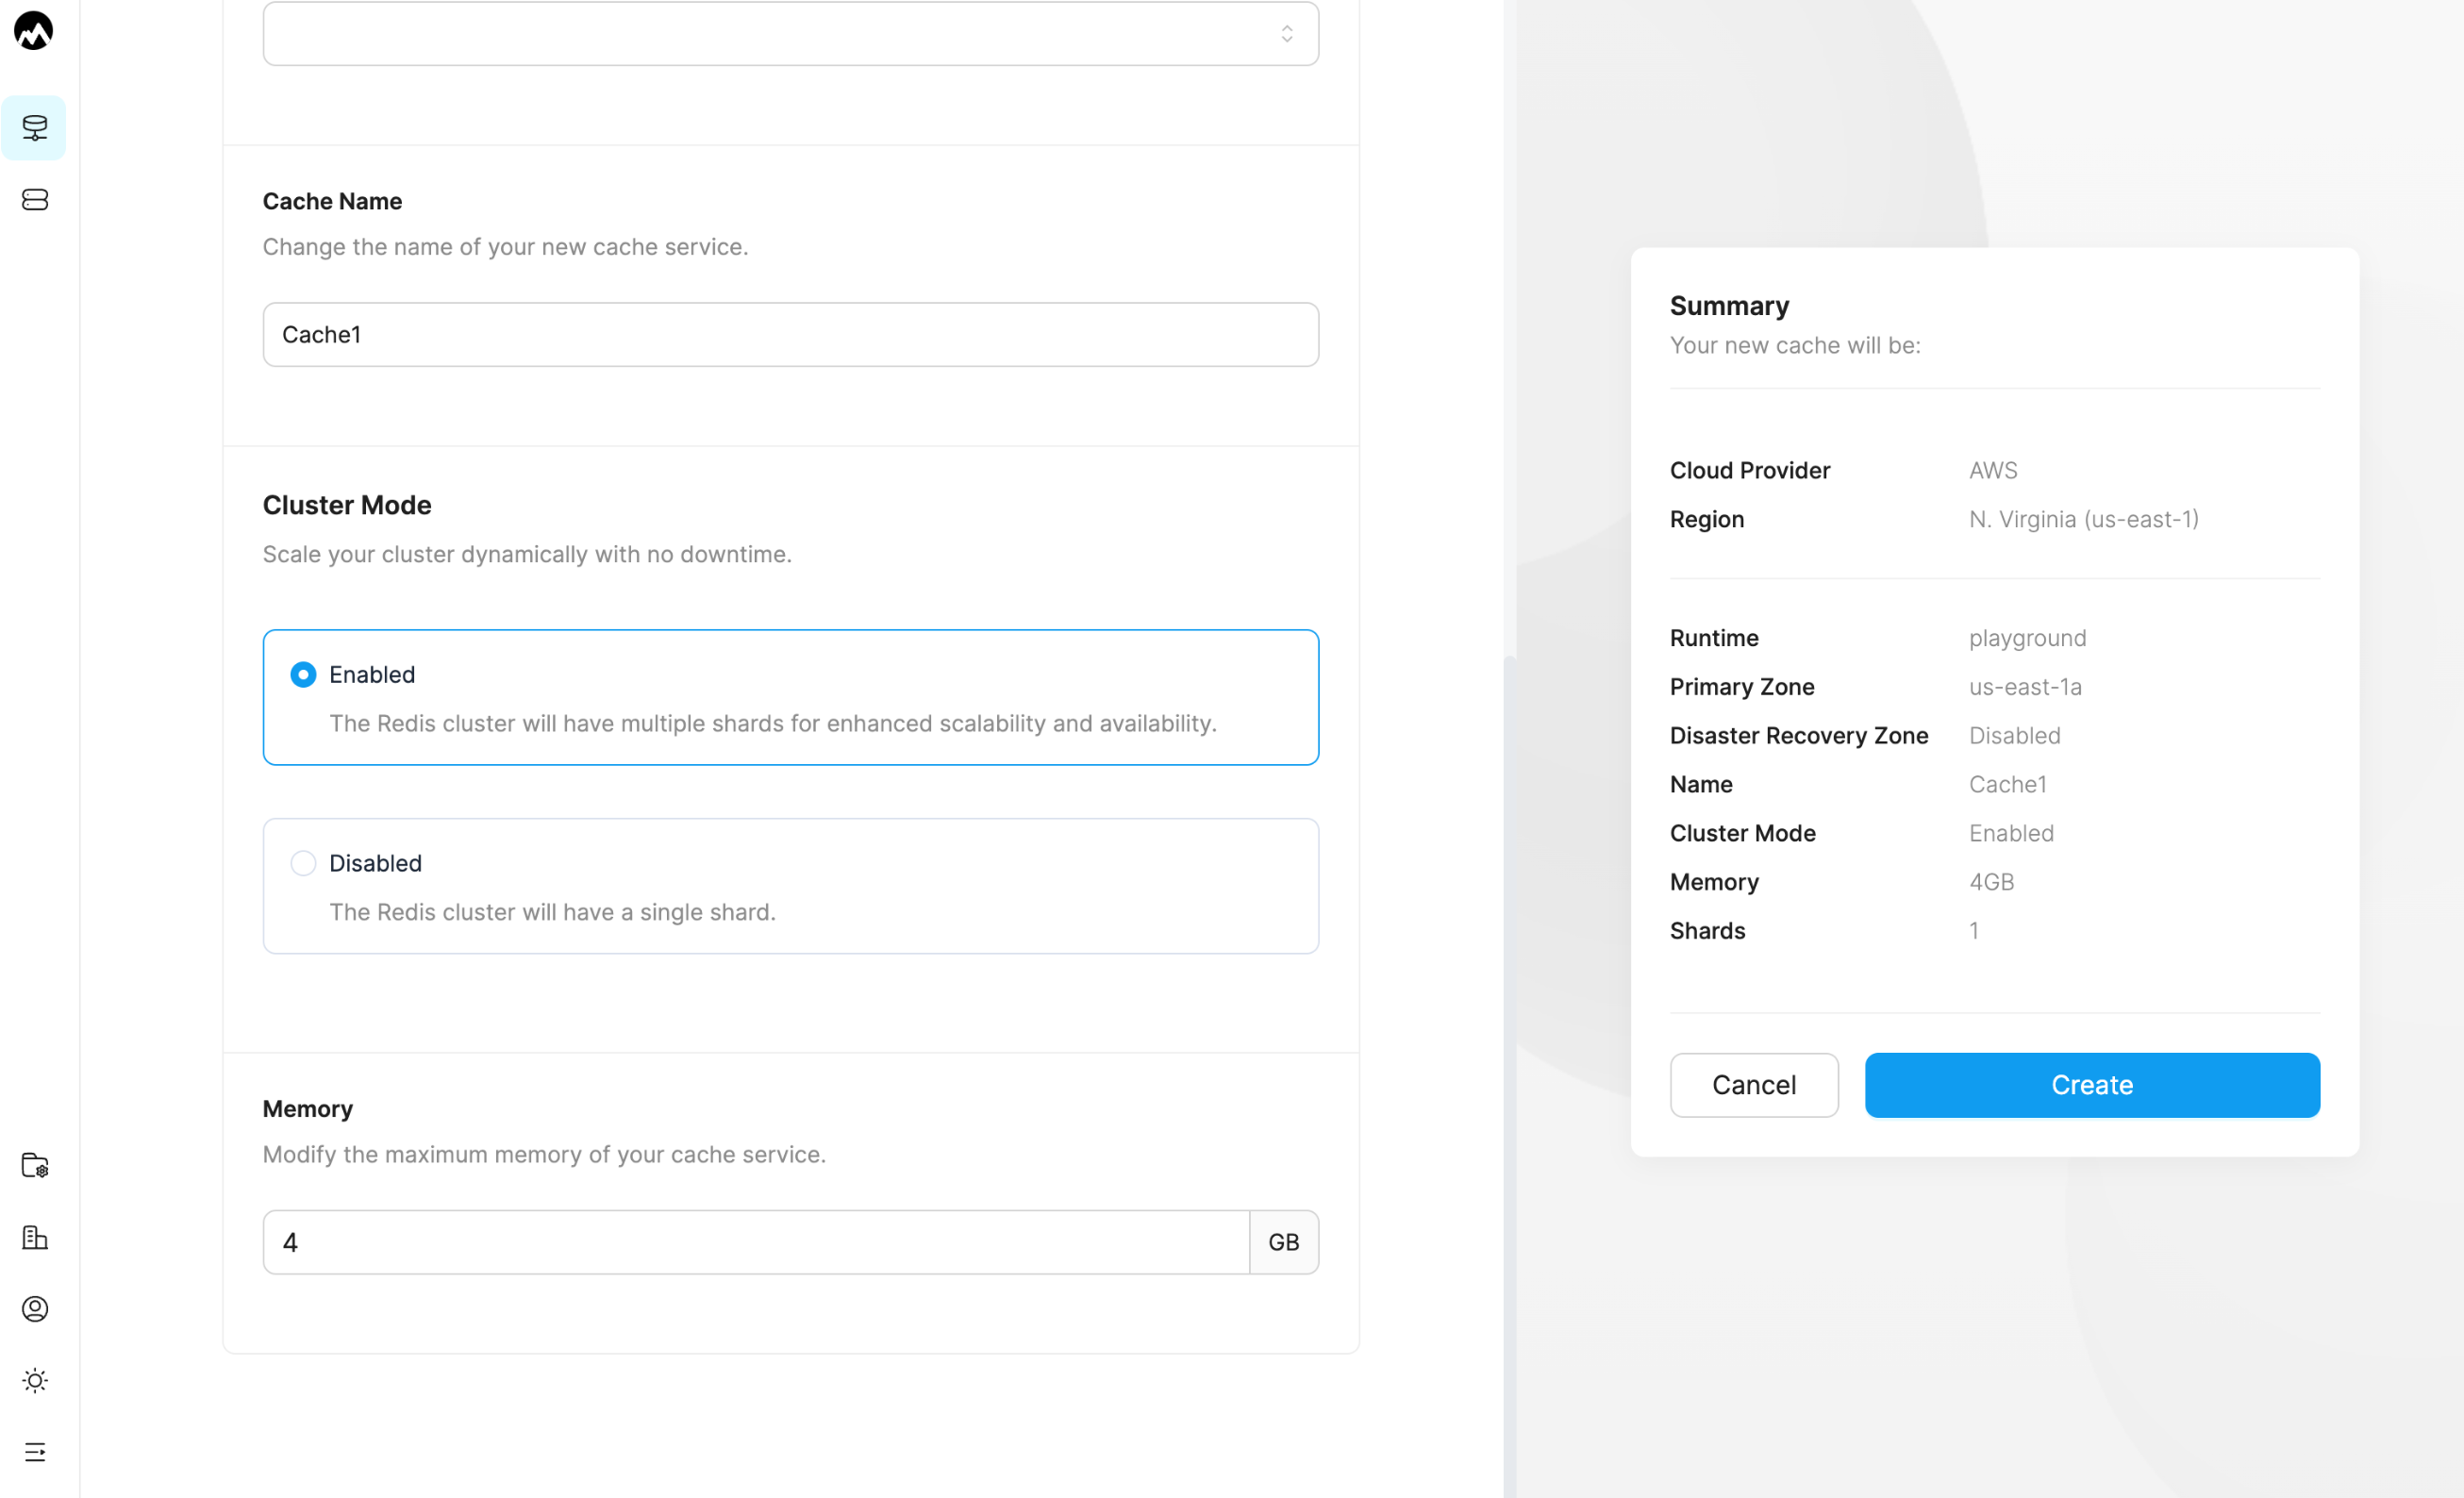
- Fill in the name for Cache. The Cache will be created in the current default project. If you need to create the Cache in another project, you must first switch to the target project. If you need to create a new project, please refer to the project creation process.
- Select Cluster Mode. When enabled, the Cache can specify virtually unlimited memory and the number of shards will be automatically split based on the memory size. When disabled, you can only create a Cache of 4GB or less (including 4GB), and there will be only one shard.
- Choose the memory capacity required for the cache cluster.
After completing the configuration, An overview of the target Cache can be seen on the right.

After creation, you can see the newly created Cache on the Caches list page.
